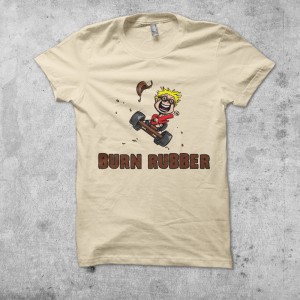
From Sketch to Shirt – Step by Step to making a kid’s t-shirt
So what goes into making a t-shirt? Where do you get your ideas and how do you transfer those into an actual t-shirt? These are just a couple of the questions, very few people ask me, but I feel I should share the answers with you all anyway.
Here’s the process for our brand new Kid’s shirt (available NOW) “Burn Rubber”
It starts with an initial sketch in a sketch pad, using a simple biro.
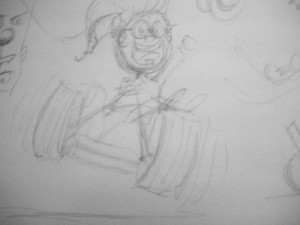 Next, we’ll sketch it out on the computer using a program called Manga Studio EX and a cintiq (basically a drawing board that looks like a monitor screen)
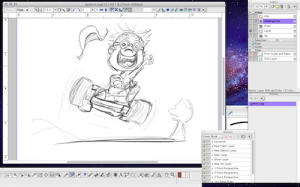
We’ll add the black inks
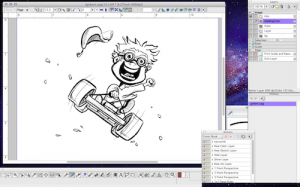
The Colour
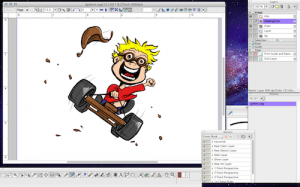
and then some shading if we feel it necessary
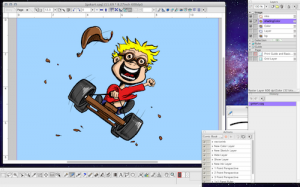 Next we transfer it to Photoshop to add text and do any textures or adjustments (this image doesn’t have textures, but they help with a lot of images and designs).
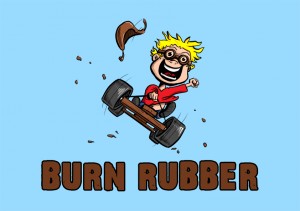 Once we’re happy with the finished design we save it out and paste it onto the shirt to see which colours it works with.
Then once we’re completely satisfied we add it to the site and make it readily available to all you fine folk.
Hope you’ve enjoyed this little break down of our design process, go pick up your new t-shirt.

